
Azure Bicep: The Smart Way to Handle Azure Resources 🚀
Ever struggled with Azure Resource Manager (ARM) templates? These JSON files are essential for setting up your resources on Azure. Powerful? Absolutely. But let’s be honest, they can be a bit tough to read and manage. 🤔
Azure Bicep to the rescue! 🌟 Created by Microsoft, this domain-specific language (DSL) refines ARM templates to be more user-friendly. Here’s our agenda for today:
- A brief intro to Azure Bicep.
- Bicep vs. ARM templates: Spotting the differences.
- Advantages of Azure Bicep.
- A hands-on guide: Deploying an Azure resource with Bicep.
Why Should You Care About Azure Bicep? 🤷♂️
Designed for Azure: Azure Bicep’s sole purpose is to describe and deploy Azure resources, being a DSL it is tightly integrated with Azure. As Azure introduces new features, you can immediately start to use it in your Bicep files without waiting for updates.
Say Goodbye to Complex JSON: Azure Bicep does away with the intricacies of JSON, allowing you to state your requirements more directly.
Enhanced Developer Experience: Azure Bicep is rich in features like intellisense, code completion, and validation, making coding and debugging smoother.

Understanding Azure Bicep 🏊♂️
Azure Bicep isn’t here to replace ARM templates. Instead, think of it as a friendly interface layered on top of them. While both serve the same purpose, their syntax differs notably. For instance, here is how you can define a resource group in Azure Bicep:
|
|
And here is the equivalent ARM template:
|
|
Notice the simplicity? Azure Bicep is concise and feels more intuitive. No more wrestling with curly braces, quotation marks, or schema references. It’s all straightforward.
Advantages of Azure Bicep 🎁
- Readability: It’s easier on the eyes compared to JSON.
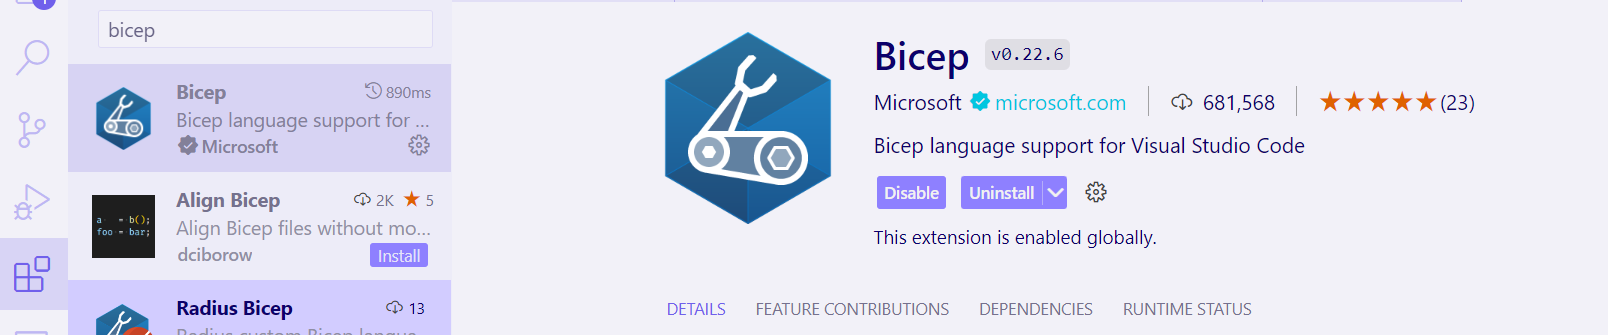
- Dev-friendly Features: Azure CLI, Bicep CLI, and even a VS Code extension – Bicep has you covered.
- Perfect Sync with ARM: It integrates perfectly with existing ARM templates.
Setting Up Azure Bicep
Ready to get started? Here’s what you’ll need:
Azure CLI: This handy command-line tool lets you talk to Azure from any platform. Bicep CLI: Your go-to for all things Bicep. VS Code Extension: An extension to enhance your Bicep coding experience in VS Code.
Installation steps:
- Follow the Azure CLI installation guide here ↗.
- UsInstall the Bicep CLI using
az bicep install. - Search for “Bicep” in the VS Code Extensions marketplace.
If you’ve not use Azure CLI before check out my YouTube video below: 😊
Creating Your First Azure Bicep Script 📝
Time for action! Let’s create a Bicep script for an Azure resource group. Open VS Code, create a new file with the .bicep extension. You can name it anything you want, but for this example, we’ll name it main.bicep.
In the main.bicep file, write the following code:
|
|
Decoding the Bicep Code: 📚
Let’s take a moment to demystify what’s going on in the Bicep code you’ve just created.
Key Terms at a Glance 🗝️
- By setting
targetScope = 'subscription', you’re telling Azure to place the new resource group within your subscription. This helps keep your resources neatly organized. 😊 - resource: This is Bicep’s way of telling Azure that you’re creating a new resource, in this case it’s a Resource Group.
- iaMachsResourceGroup: Think of this as a friendly nickname for your resource within the Bicep file. It’s like saving a phone number in your contacts list under a name like “John”. When you call “John” you don’t dial his name on your phone, you dial his actual phone number. But in your contacts, you refer to him by this name because it’s easier to remember and understand. Similarly,
iaMachsResourceGroupis the easy-to-remember name you use in your code. But remember, it’s not the name Azure uses to identify the resource group. - iaMachsRG: Now this is the real deal. This is the actual name Azure will use to identify your resource group—kind of like John’s actual phone number.
- Microsoft.Resources/resourceGroups@2022-09-01: This term has two parts:
- Resource Type:
Microsoft.Resources/resourceGroupsindicates that we’re setting up a resource group. - API Version:
2022-09-01tells Azure which version of its Resource Manager (ARM) API to use. It’s essential because each API version offers different features.
- Resource Type:
About API Versions 🔄
APIs evolve. As time passes, Microsoft rolls out new versions. Each one might introduce new features, better performance, or patch up bugs. So, always keep an eye out for the latest to get the best out of Azure.
Squiggly Line in VS Code

We’re using ‘australiaeast’ as a hardcoded value for simplicity while learning Bicep. It’s not ideal due to its impact on your code reusability and flexibility. Don’t worry about the squiggly line for now - we’ll address this in a future blog post. Stay tuned! 😊
Deploy Time! 🚀
Ready to bring your Bicep file to life in Azure?
Using Azure CLI:
Navigate to your Bicep file’s location and run:
|
|
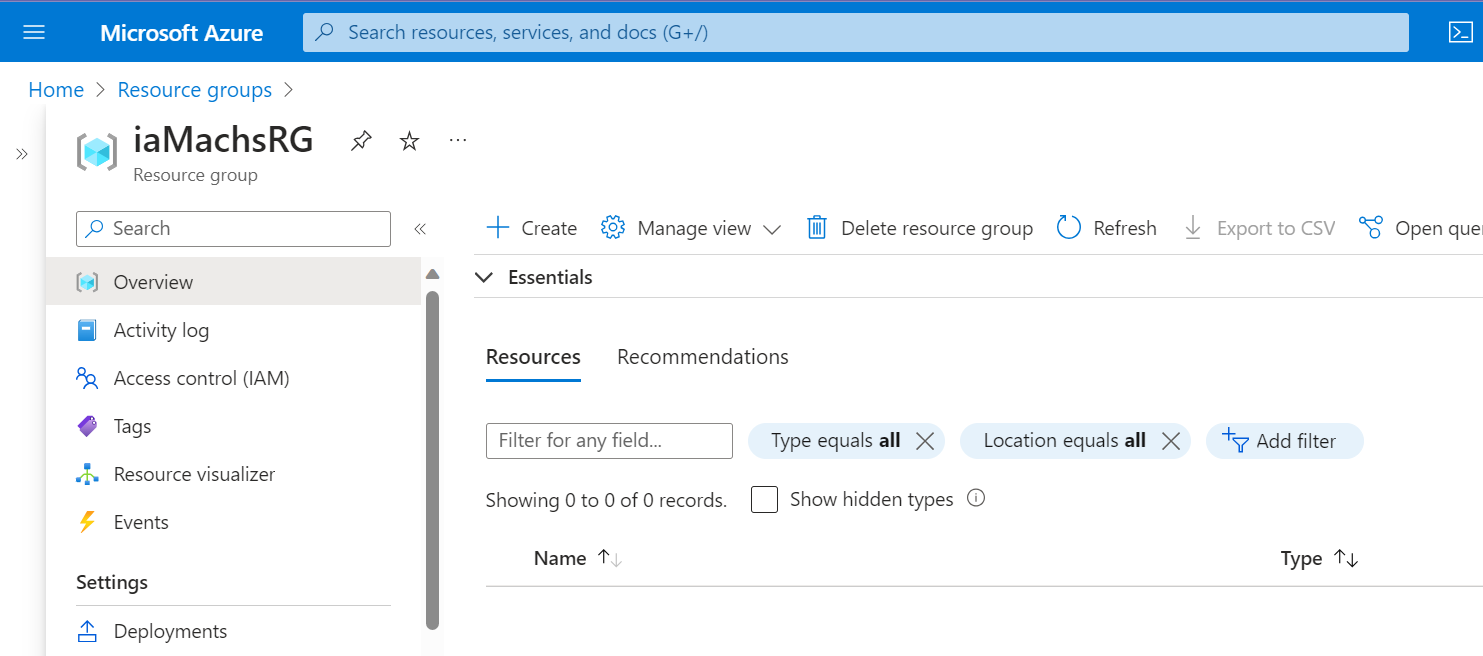
Post-deployment, check the Azure portal to ensure your resources are up and running.
And there you go! 🎉 You’re now part of the Azure Bicep community. Keep exploring and happy coding!